
Follow Me On Social Media!

Proven way to make 5 Air fryer recipes for beginners
There’s something universally comforting about a perfectly crispy chicken tender. But the thought of deep-frying—with its lingering smell and messy cleanup—can be enough to make you reach for the takeout menu. What if you could achieve that same golden, crunchy exterior and juicy interior with just a fraction of the oil and effort? Welcome to the magic of the air fryer. This recipe for Crispy Air Fryer Chicken Tenders is designed to be your gateway to healthier, hassle-free cooking. It’s the ultimate example of easy air fryer recipes that deliver maximum flavor with minimal fuss, making it a perfect starting point for anyone exploring air fryer recipes for beginners. Forget the freezer aisle; homemade is always fresher, crispier, and completely within your control.
Table of Contents
Ingredients & Kitchen Tools
For the Chicken Tenders:
- 1 lb (450g) chicken tenderloins, or boneless, skinless chicken breasts cut into 1-inch strips
- 1 tsp kosher salt
- ½ tsp black pepper
- 1 tsp paprika (smoked or sweet)
- ½ tsp garlic powder
- ½ tsp onion powder
For the Breading Station:
- ½ cup all-purpose flour (or gluten-free 1:1 flour)
- 2 large eggs, beaten
- 1 cup panko breadcrumbs (for ultimate crunch)
- ½ cup grated Parmesan cheese (optional, but recommended)
- 1 tsp dried Italian herbs (or a mix of oregano and thyme)
- Cooking spray or a light brush of oil (avocado or olive oil work well)
Kitchen Tools:
- Air Fryer
- Three shallow bowls or plates (for the breading station)
- Tongs
- Paper towels
- Meat thermometer (highly recommended for perfect doneness)
Quality Note: For the best results, use fresh, high-quality chicken and freshly grated Parmesan if using. The panko breadcrumbs are non-negotiable for that signature airy crunch.
Prep Time & Cooking Schedule
Prep Time: 15 minutes
Cook Time: 10-12 minutes
Total Time: 25-30 minutes
Yields: 4 servings
Time Management: While your air fryer preheats, set up your breading station. You can bread all the tenders in an assembly-line fashion before cooking. The actual cook time is quick, so have your serving plates ready!
Step-by-Step Cooking Instructions
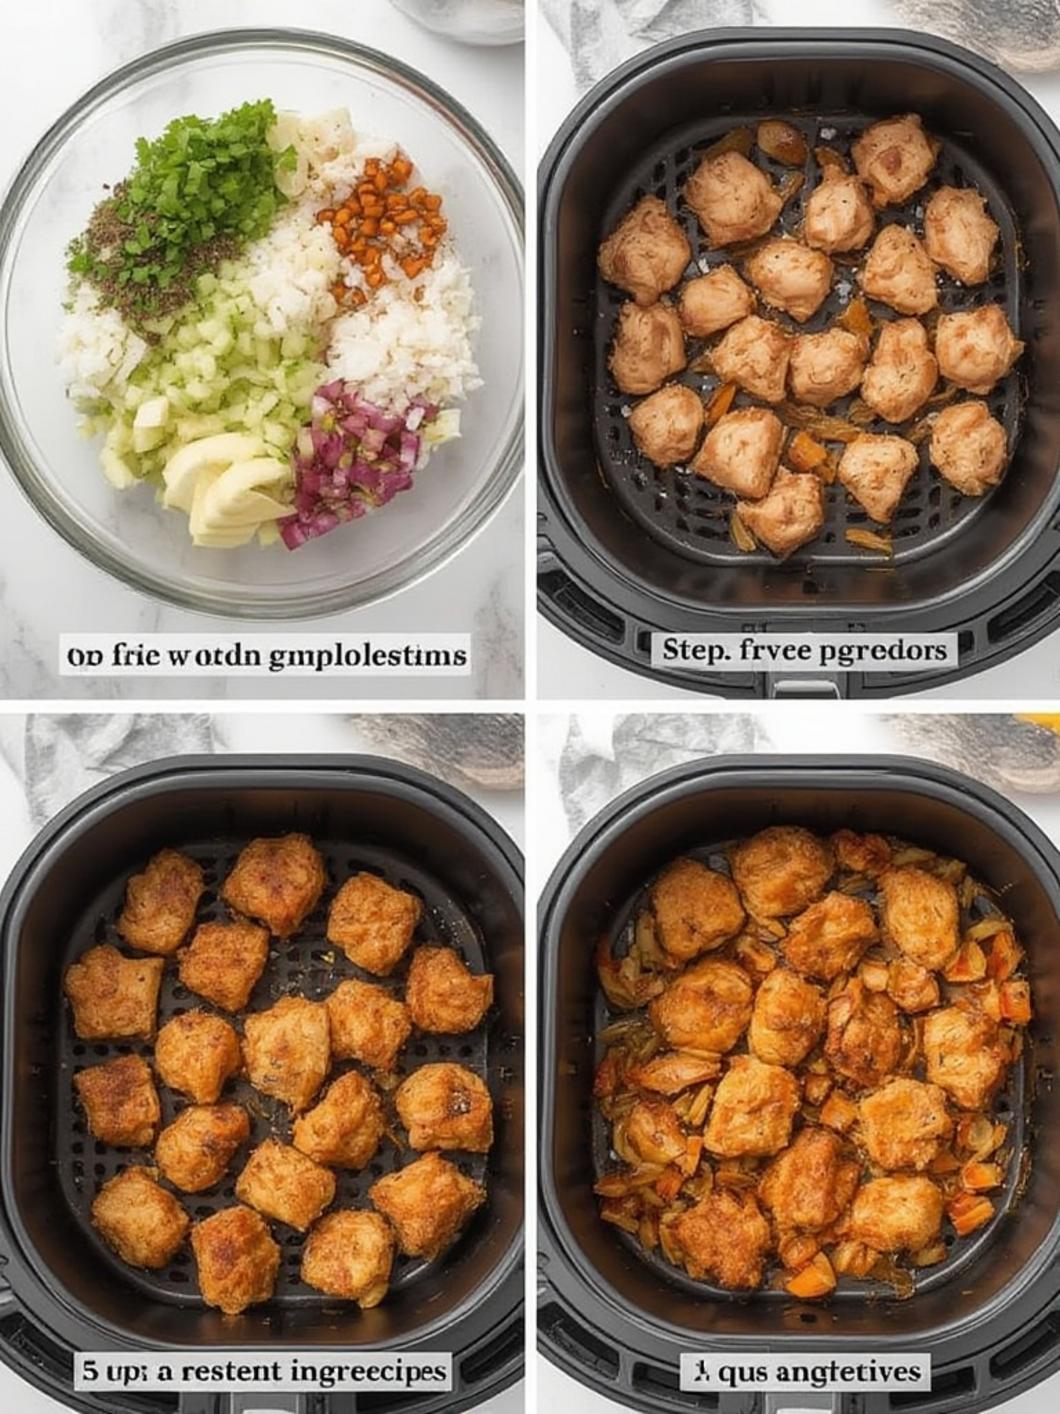
1. Prep & Season: Pat the chicken tenders completely dry with paper towels. This is the secret to getting the coating to stick. In a small bowl, mix the salt, pepper, paprika, garlic powder, and onion powder. Sprinkle this seasoning blend evenly over all sides of the chicken.
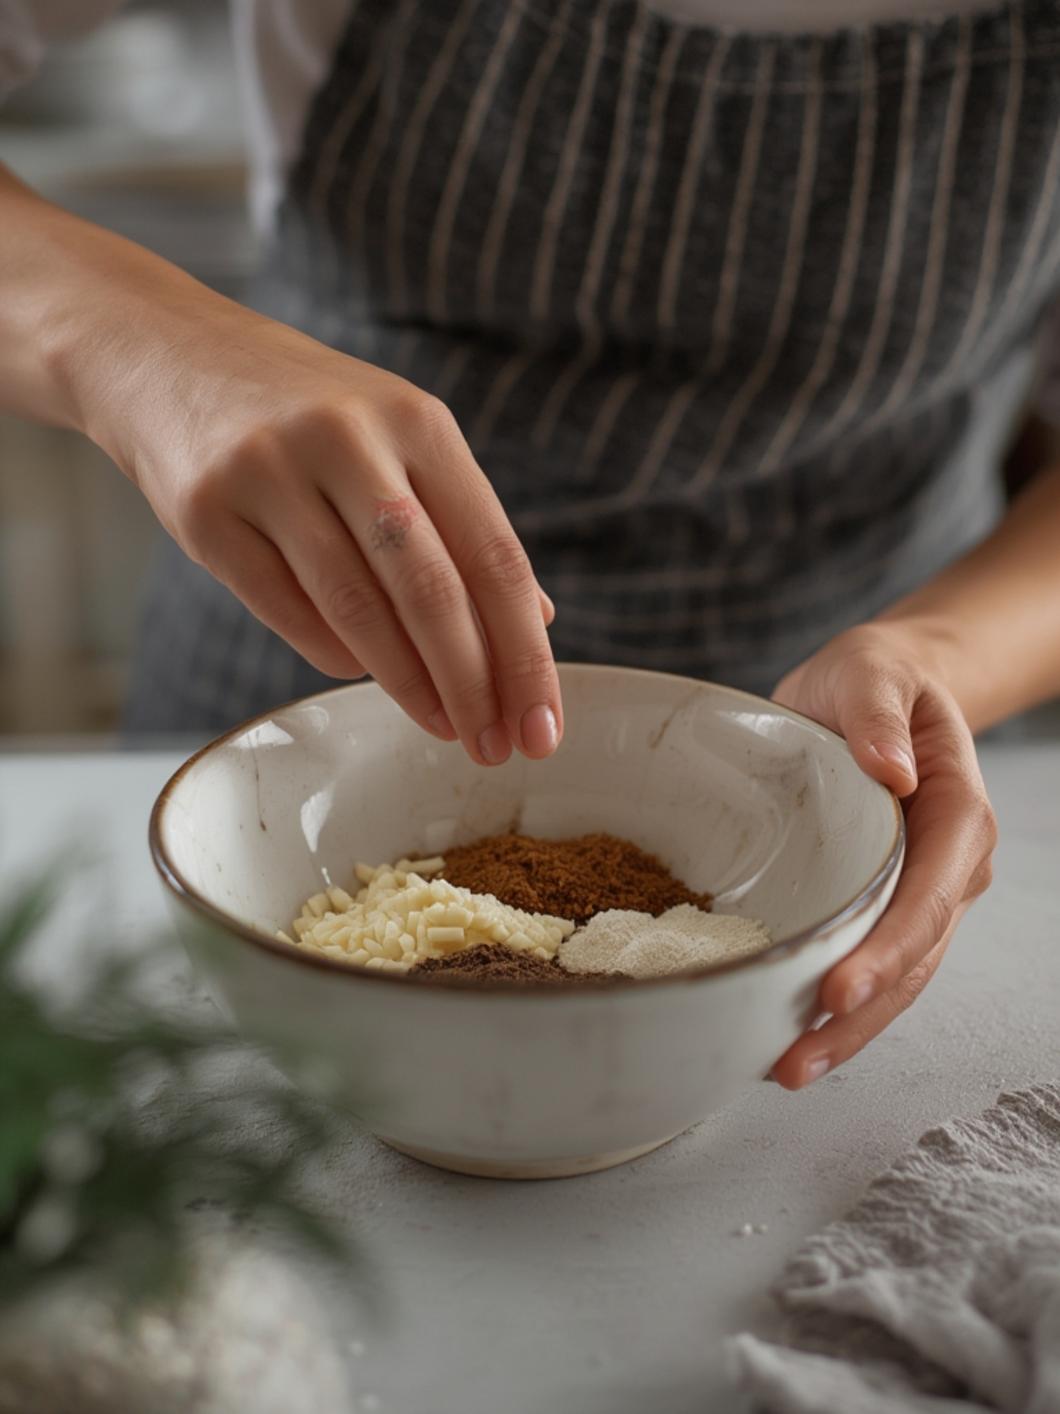
2. Set Up Your Station: Arrange three shallow bowls. Place the flour in the first. Beat the eggs in the second. In the third, combine the panko breadcrumbs, Parmesan cheese (if using), and dried herbs. Mix well.
3. The Breading Process: Working with one tender at a time, dredge it in the flour, shaking off any excess. Next, dip it fully into the beaten egg, letting the excess drip off. Finally, press it firmly into the panko mixture, ensuring an even, generous coating on all sides. Place on a clean plate. Repeat with all tenders.
4. Preheat & Cook: Preheat your air fryer to 400°F (200°C) for 3-5 minutes. Lightly spray or brush the air fryer basket with oil. Arrange the breaded tenders in a single layer, ensuring they are not touching. Lightly spray the tops of the tenders with cooking spray. This helps them crisp up beautifully.
5. Air Fry to Perfection: Cook for 6 minutes. Carefully flip the tenders using tongs, spray lightly again, and cook for another 4-6 minutes, or until the coating is deeply golden brown and crisp, and the internal temperature of the chicken reaches 165°F (74°C). This foolproof method is what makes this one of the most satisfying easy air fryer recipes, and a cornerstone for mastering air fryer recipes for beginners.
Nutritional Benefits & Health Info
This recipe is a fantastic alternative to traditional fried chicken. By using an air fryer, you cut the fat content by up to 70-80% while retaining all the texture. Chicken is an excellent source of lean protein, essential for muscle repair and satiety. Using whole eggs adds protein and helps bind the coating, while opting for whole-wheat panko can add a fiber boost. It’s easily adaptable to be gluten-free by using a GF flour blend and certified gluten-free breadcrumbs.
Variations, Substitutions & Chef’s Tips
- Make it Spicy: Add ½ tsp of cayenne pepper or chipotle powder to the panko mixture.
- Dairy-Free: Omit the Parmesan cheese. For extra flavor, add a tablespoon of nutritional yeast to the breadcrumbs.
- Different Crunch: Use crushed cornflakes, pork rinds (for keto), or almond flour for a low-carb option.
- Chef’s Tip: For extra-crispy tenders, let the breaded chicken rest on a wire rack in the fridge for 15-20 minutes before cooking. This helps the coating set.
- No Panko? Regular breadcrumbs work, but the crunch won’t be as pronounced.
Common Cooking Mistakes to Avoid
1. Skipping the Preheating: Not preheating the air fryer can lead to soggy, unevenly cooked food. Always give it a few minutes to get hot.
2. Overcrowding the Basket: Placing tenders on top of each other blocks airflow, resulting in steamed, not crispy, chicken. Cook in batches if necessary.
3. Forgetting the Light Oil Spray: While air fryers use little oil, a light spritz is crucial for achieving that golden-brown, fried-like texture. Don’t skip it.
4. Not Checking Internal Temperature: Guessing doneness can lead to dry or undercooked chicken. A quick-read thermometer is your best friend for perfect, juicy tenders every time.
Serving & Storage Suggestions
Serving: Serve these tenders hot with your favorite dipping sauces—honey mustard, BBQ, ranch, or a spicy sriracha mayo. They are fantastic on their own, atop a fresh salad, in a wrap, or with classic sides like sweet potato fries (also made in the air fryer!) and coleslaw.
Storage: Let leftovers cool completely. Store in an airtight container in the refrigerator for up to 3 days. To freeze, place cooled tenders in a single layer on a baking sheet to freeze solid, then transfer to a freezer bag for up to 2 months.
Reheating: Reheat in the air fryer at 375°F (190°C) for 3-4 minutes until hot and re-crisped. The oven (at 400°F for about 10 minutes) also works, but the air fryer is superior for restoring the original texture.
Conclusion
Mastering these Crispy Air Fryer Chicken Tenders is more than just making dinner; it’s about gaining confidence in your kitchen and discovering how simple and rewarding modern cooking can be. They prove that you don’t need a vat of oil to enjoy the crunch we all crave. This recipe stands as a testament to the power of easy air fryer recipes to transform your weeknights. We hope this guide empowers you as you explore more air fryer recipes for beginners and beyond. Did you try it? We’d love to see your creations! Leave a comment below, rate the recipe, and tag us on social media with your golden-brown results.
FAQs
Q: Can I make these chicken tenders ahead of time?
A: Yes! You can bread the tenders and store them in a single layer in the fridge for up to 4 hours before cooking. You can also freeze the breaded, uncooked tenders for up to a month. Cook from frozen, adding a few extra minutes to the cooking time.
Q: My breading is falling off. What did I do wrong?
A: The most common culprit is not patting the chicken dry before seasoning. Moisture prevents the flour from sticking. Also, make sure to shake off excess flour and let the excess egg drip off at each stage.
Q: Can I use frozen chicken tenders?
A: It’s best to thaw them completely first. Cooking frozen tenders will result in a soggy coating and potentially undercooked chicken in the center.
Q: Why aren’t my tenders getting crispy?
A: Ensure you are not overcrowding the basket, that you used a light spray of oil, and that your air fryer was properly preheated. Panko breadcrumbs are also key for maximum crispiness.
Q: What’s the best dip for these?
A: It’s all about personal preference! Classic ranch, honey mustard, buffalo sauce, or even a simple mix of Greek yogurt with lemon and dill are all fantastic choices.