Follow Me On Social Media!

Quick way to make 3 No bake desserts
Table of Contents
Have you ever craved the creamy, decadent satisfaction of a perfect cheesecake but felt daunted by the prospect of a water bath, potential cracks, and a hot oven? What if you could create a show-stopping dessert with nothing more than a bowl, a whisk, and a little patience? Welcome to the magical world of no bake desserts, where simplicity meets sublime flavor. This recipe for a classic no bake cheesecake is your ticket to an impressive, restaurant-quality treat made in your own kitchen, with the pure, customizable flavors that store-bought versions can only dream of. It’s cool, luscious, and proof that sometimes the best things come without any heat at all.
Ingredients & Kitchen Tools
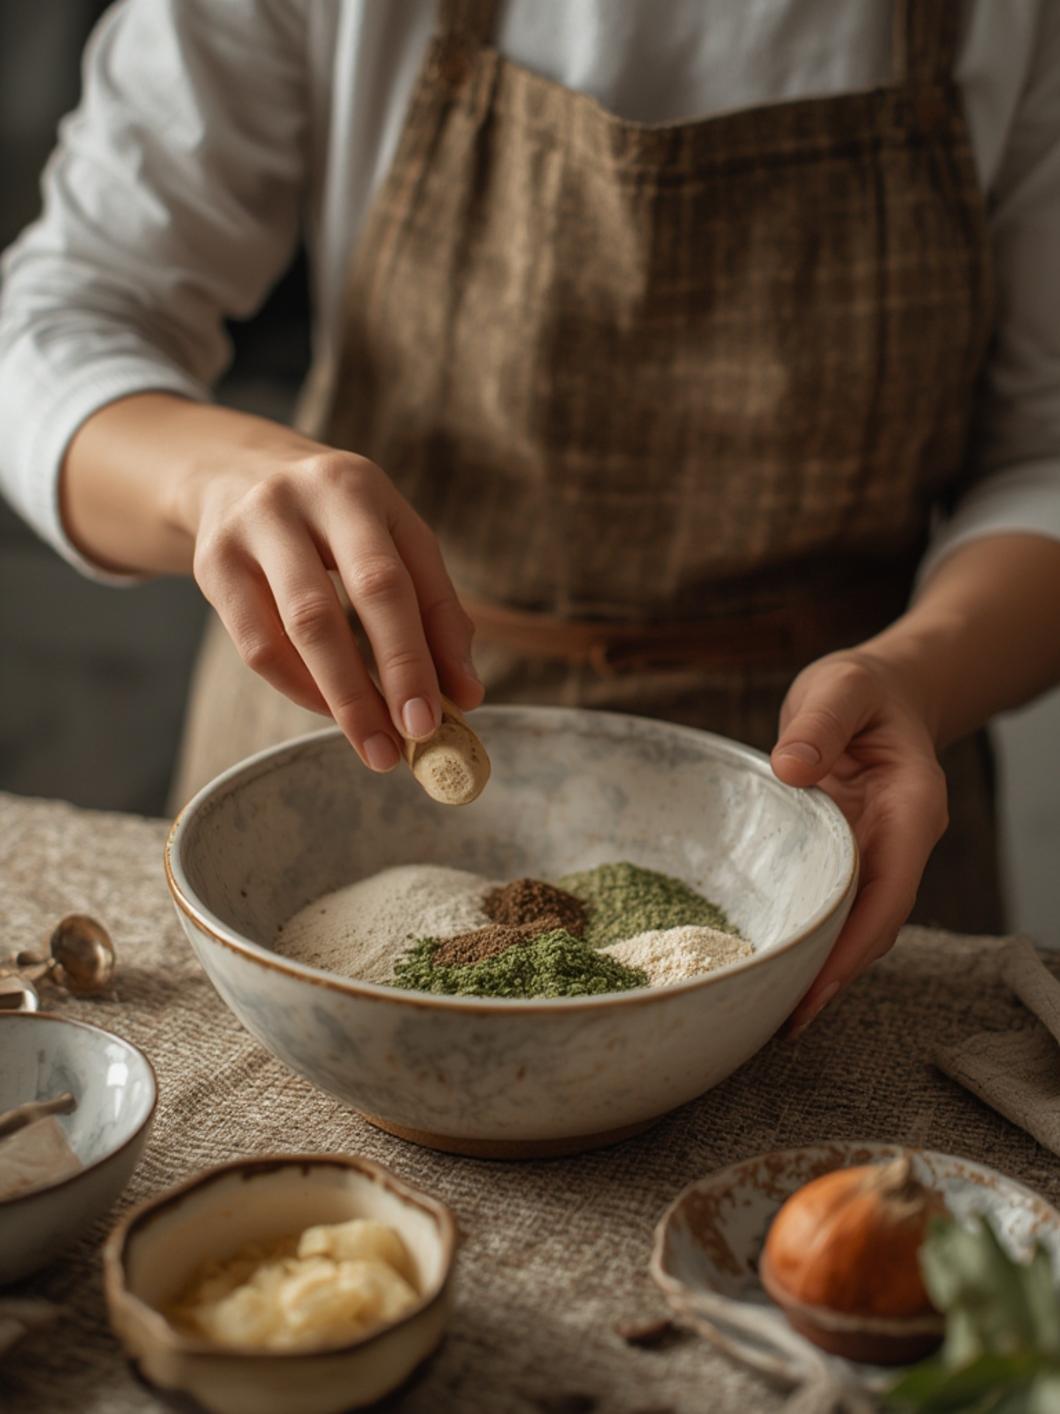
For the best results, use full-fat, high-quality dairy. The cream cheese should be brick-style, not spreadable, and at true room temperature for a lump-free filling.
For the Crust:
- 200g (about 2 cups) graham cracker crumbs (or digestive biscuits)
- 100g (7 tbsp) unsalted butter, melted
- 2 tablespoons granulated sugar
- Pinch of salt
For the Filling:
- 450g (16 oz) full-fat cream cheese, softened
- 150g (3/4 cup) granulated sugar
- 1 tablespoon pure vanilla extract
- 1 tablespoon fresh lemon juice
- 300ml (1 ¼ cups) heavy cream (or heavy whipping cream), cold
Optional Garnish:
- Fresh berries (strawberries, raspberries, blueberries)
- Lemon zest
- Fruit compote or chocolate sauce
Kitchen Tools:
- 9-inch springform pan or a deep pie dish
- Food processor or zip-top bag and rolling pin (for crushing crumbs)
- Electric hand mixer or stand mixer
- Large mixing bowls (2)
- Rubber spatula
- Measuring cups and spoons
Prep Time & Cooking Schedule
Prep Time: 25 minutes
Chill Time: 6 hours (or overnight)
Total Time: 6 hours 25 minutes
Yields: 10-12 servings
Schedule: The beauty of this recipe lies in its make-ahead nature. You’ll spend about 25 minutes actively preparing the crust and filling. While the cheesecake sets in the refrigerator for at least 6 hours—ideally overnight—you can prepare any garnishes or simply relax, knowing dessert is ready and waiting.
Step-by-Step Cooking Instructions
1. Prepare the Pan: Lightly grease your springform pan. For easy removal, you can line the bottom with a round of parchment paper.
2. Make the Crust: In a medium bowl, combine the graham cracker crumbs, melted butter, sugar, and salt. Mix until the texture resembles wet sand and the crumbs hold together when pinched. Press this mixture firmly and evenly into the bottom of your prepared pan. Use the bottom of a glass to compact it. Place the crust in the freezer to set while you make the filling.
3. Whip the Cream: In a large, chilled bowl, whip the cold heavy cream using an electric mixer until it forms stiff peaks. Be careful not to over-whip into butter. Set aside.
4. Cream the Cheese Base: In another large bowl, beat the softened cream cheese and sugar together on medium speed for 2-3 minutes, until completely smooth, creamy, and no lumps remain. Scrape down the sides of the bowl. Beat in the vanilla extract and lemon juice until just combined.
5. Combine & Fold: Using a rubber spatula, gently fold about one-third of the whipped cream into the cream cheese mixture to lighten it. Then, carefully fold in the remaining whipped cream until no white streaks remain. The filling should be thick, smooth, and airy.
6. Assemble: Retrieve the crust from the freezer. Spoon the luxurious filling onto the crust and smooth the top with an offset spatula or the back of a spoon. This is the moment where your masterpiece of no bake desserts truly takes shape—a velvety no bake cheesecake that requires zero oven time.
7. Chill to Set: Cover the pan loosely with plastic wrap and refrigerate for a minimum of 6 hours, or overnight for the firmest, most sliceable texture.
Nutritional Benefits & Health Info
While this is an indulgent treat, it offers control over ingredients. You can reduce the sugar slightly or use a sugar alternative. The cream cheese provides a source of calcium and vitamin A. Using a nut-based crust (like almonds) can add healthy fats and protein, making it a more substantial dessert option. This recipe is naturally egg-free and can be adapted to be gluten-free by using certified gluten-free cookies for the crust.
Variations, Substitutions & Chef’s Tips
- Flavor Twists: Add 1/2 cup of sifted cocoa powder to the filling for a chocolate version. Swirl in 1/2 cup of fruit puree (like raspberry or mango) before chilling.
- Crust Alternatives: Use crushed Oreos (leave out the added sugar), gingersnaps, or shortbread cookies.
- Dairy-Free/Vegan: Use vegan cream cheese and coconut cream (chilled, the solid part only) whipped in place of heavy cream.
- Chef’s Tip: For the smoothest filling, ensure your cream cheese is at room temperature (let it sit out for 2 hours). Cold cream cheese will leave lumps no matter how long you mix.
- Presentation: Run a knife under hot water, dry it, and then slice for perfectly clean cuts.
Common Cooking Mistakes to Avoid
1. Lumpy Filling: Using cold cream cheese is the #1 culprit. Patience is key—let it soften completely.
2. Runny, Soft Cheesecake: Not chilling long enough. The setting power comes from the cold, not heat. Respect the 6-hour minimum.
3. Overmixing the Filling: Once you add the whipped cream, switch to folding by hand. Overmixing with a beater will deflate the cream, resulting in a dense, not light and airy, texture.
4. Soggy Crust: Pressing the crust firmly is non-negotiable. A loose crust will crumble. The brief freeze before adding filling also helps create a barrier.
Serving & Storage Suggestions
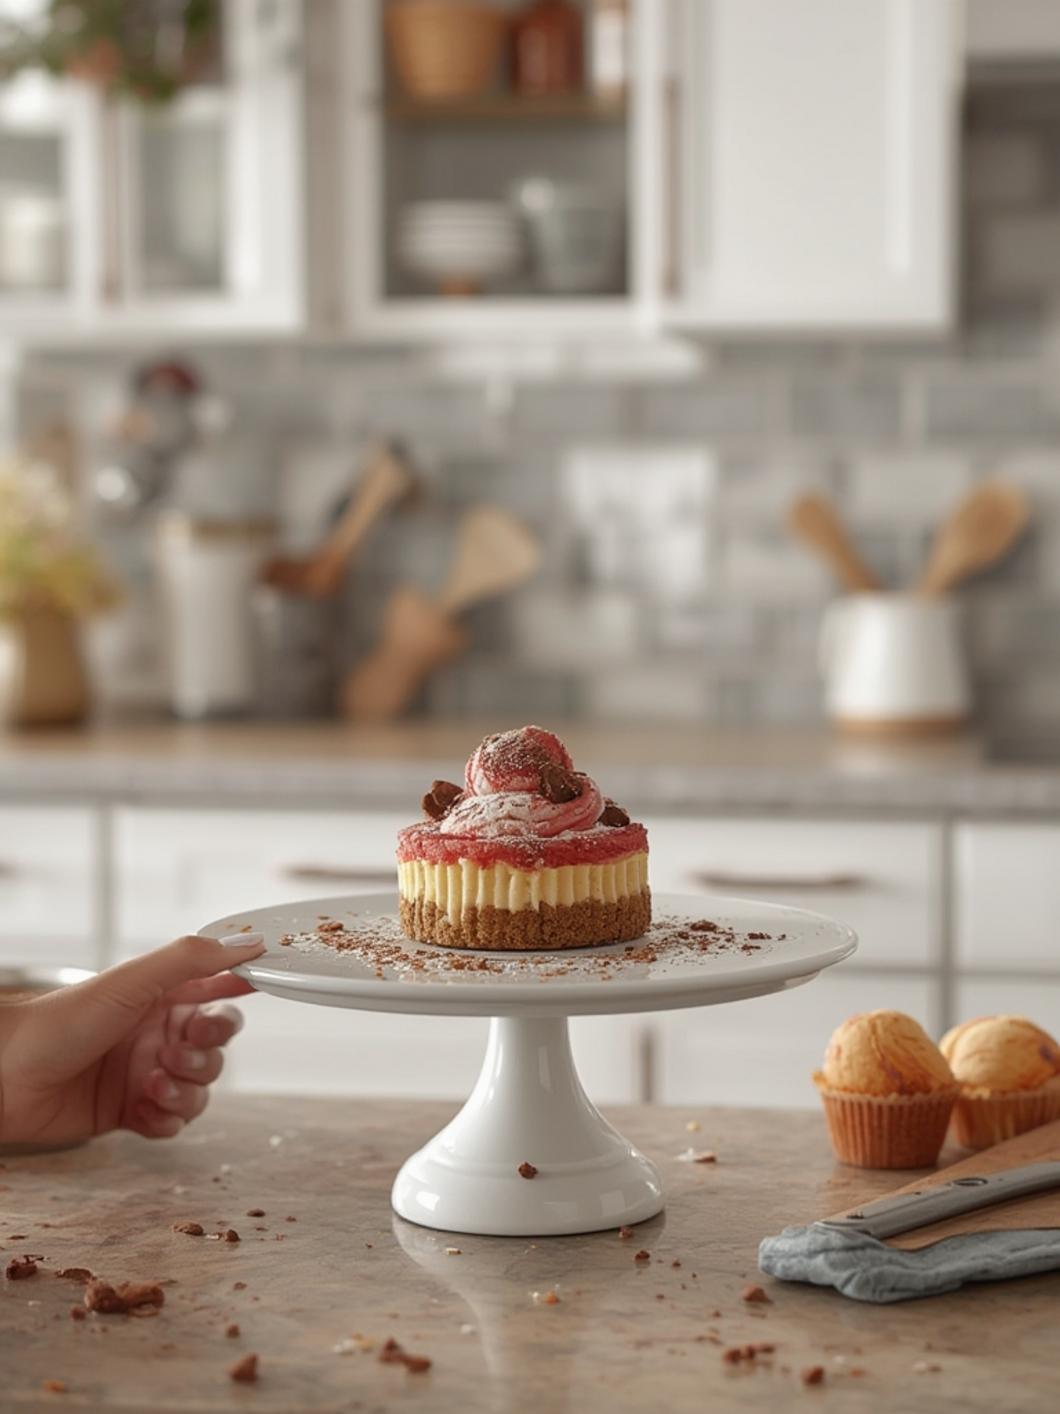
Serve chilled, straight from the fridge. Garnish with a cascade of fresh berries, a drizzle of salted caramel, or a dusting of powdered sugar just before serving. It pairs beautifully with a cup of strong coffee or a dessert wine.
Storage: Keep covered in the refrigerator for up to 5 days. For longer storage, you can freeze the whole cheesecake or individual slices. Wrap tightly in plastic wrap and then aluminum foil. Thaw overnight in the refrigerator before serving. Do not reheat.
Conclusion
Creating this stunning, silky-smooth dessert is a testament to the magic of simple techniques and quality ingredients. It proves that you don’t need complex baking skills to deliver a dessert that wows every time. This no bake cheesecake is more than just a recipe; it’s a reliable, elegant solution for any occasion, solidifying its place as a champion in the realm of no bake desserts. We hope it becomes a cherished staple in your home. Did you try it? Please leave a comment below with your favorite variation, rate the recipe, and share your beautiful creations with us on social media!
FAQs
Q: Can I use a different type of pan?
A: Yes! A 9-inch deep-dish pie plate works well, though unmolding clean slices is easier with a springform pan. You can also use individual jars or glasses for portioned desserts (no crust setting time needed).
Q: My filling is too soft after chilling. What went wrong?
A: The most likely causes are under-whipped cream or not chilling long enough. Ensure your cream is whipped to stiff peaks, and always chill for the full 6+ hours, especially in a warm kitchen.
Q: Can I make this sugar-free?
A: Absolutely. Use a granulated sugar substitute that measures 1:1 like sugar (e.g., erythritol blends). The texture may be slightly different, but it will still set.
Q: Why did my crust stick to the pan?
A: If not using a springform, line your pan with parchment paper with overhanging edges to create a “sling” for easy lifting. For springform, running a thin knife or offset spatula around the edge before unclamping helps.
Q: Can I add fruit on top before chilling?
A: It’s best to add fresh fruit as a garnish just before serving. If you add wet fruit (like sliced strawberries) on top before chilling, the juices can seep into and soften the filling. For a fruit layer, use a thick compote or preserves.