
Follow Me On Social Media!

Quick way to make 5 Ninja Creami recipes
Have you ever scooped into a bowl of ice cream so luxuriously smooth, so profoundly rich with the floral notes of real vanilla, that the store-bought tub in your freezer suddenly seems like a pale imitation? That’s the magic of crafting your own frozen dessert at home, where you control every ingredient, from the plump vanilla beans to the quality of cream. This isn’t just ice cream; it’s a customizable canvas for your culinary creativity, and the Ninja Creami makes it astonishingly simple. Today, we’re diving into a foundational recipe that will unlock a world of frozen delights, perfect for exploring more ninja creami recipes and inspiring countless


ninja creami dessert ideas.
Table of Contents
Ingredients & Kitchen Tools
For the Ice Cream Base:
- 2 cups heavy whipping cream (cold, high-fat for best texture)
- 1 cup whole milk (cold)
- 3/4 cup granulated sugar
- 1/4 cup light corn syrup or honey (for smoothness and to prevent iciness)
- 1 tablespoon pure vanilla extract
- 1 whole vanilla bean, seeds scraped (or 2 beans for intense flavor)
- 1/4 teaspoon fine sea salt
Optional Add-Ins & Garnishes:
- 1 cup mix-ins of choice: chocolate chips, chopped cookies, toasted nuts, or fruit swirls
- Fresh berries, mint sprigs, or a drizzle of warm fudge for serving
Essential Kitchen Tools:
- Ninja Creami Pint Containers (2)
- Medium saucepan
- Whisk
- Fine-mesh strainer (optional, for ultra-smooth texture)
- Mixing bowl
- Measuring cups and spoons
- Airtight container for storage
The quality of your ingredients is paramount. Use the freshest, highest-fat dairy you can find, and never skimp on real vanilla—it’s the soul of this recipe.
Prep Time & Cooking Schedule
Prep Time: 10 minutes
Cook Time: 5 minutes (for base)
Freeze Time: 24 hours
Total Time: 24 hours 15 minutes
Yields: 2 pints
Schedule: The process is beautifully simple. You’ll whisk the base together in just minutes, then let science and your freezer do the heavy lifting overnight. The next day, the Ninja Creami transforms the frozen block into creamy perfection in under 5 minutes. While the base freezes, you can prepare any mix-ins or sauces.
Step-by-Step Cooking Instructions
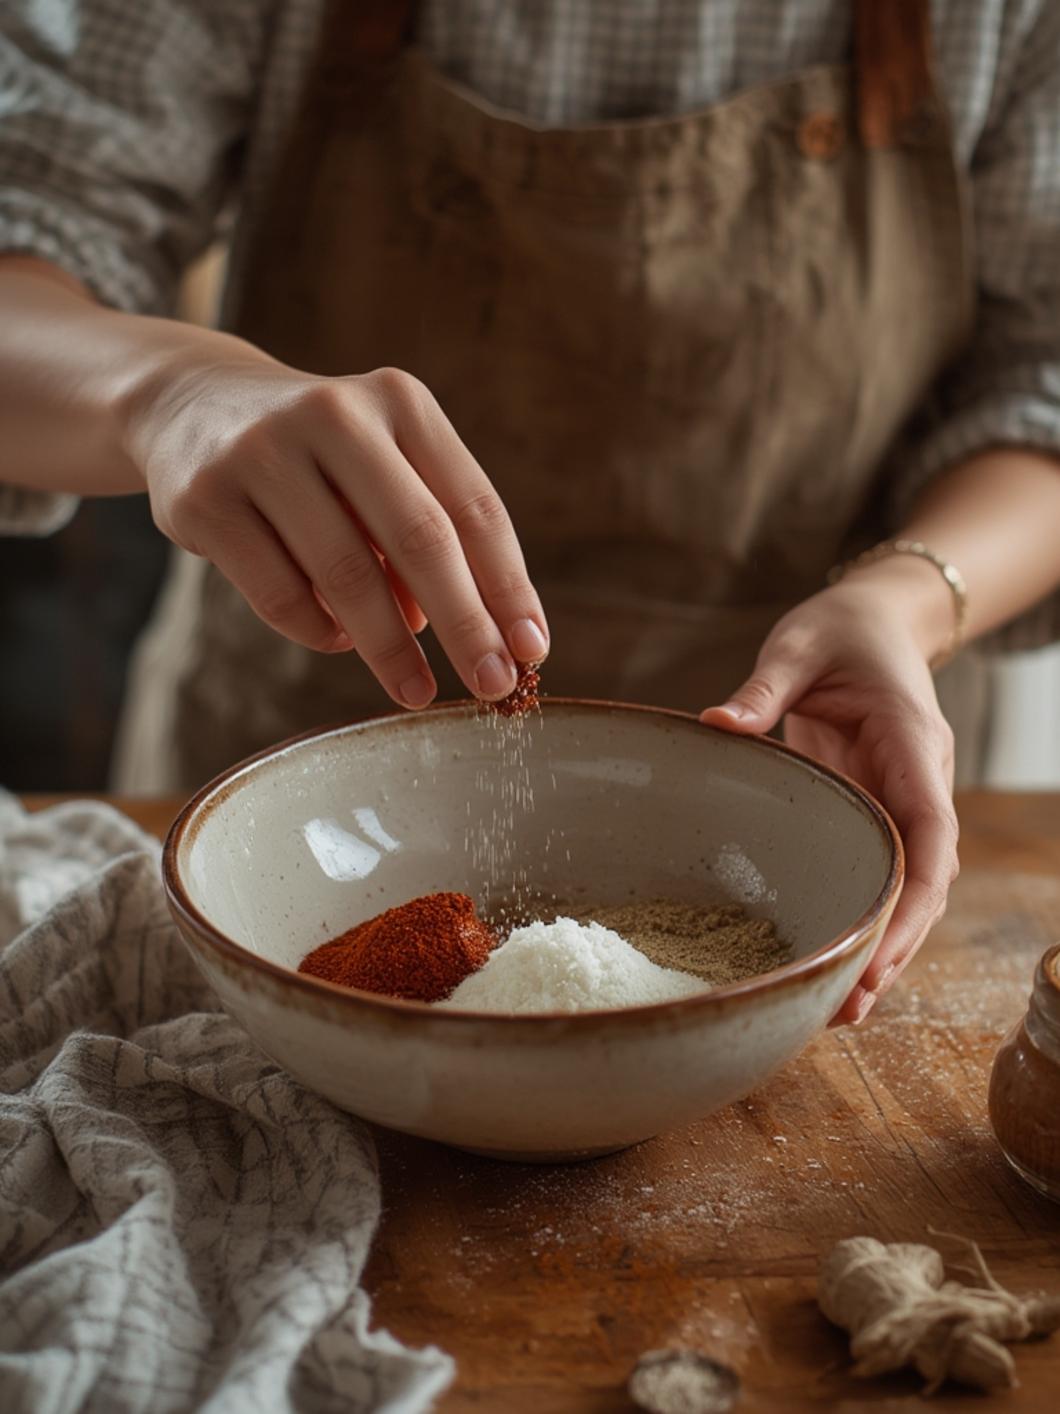
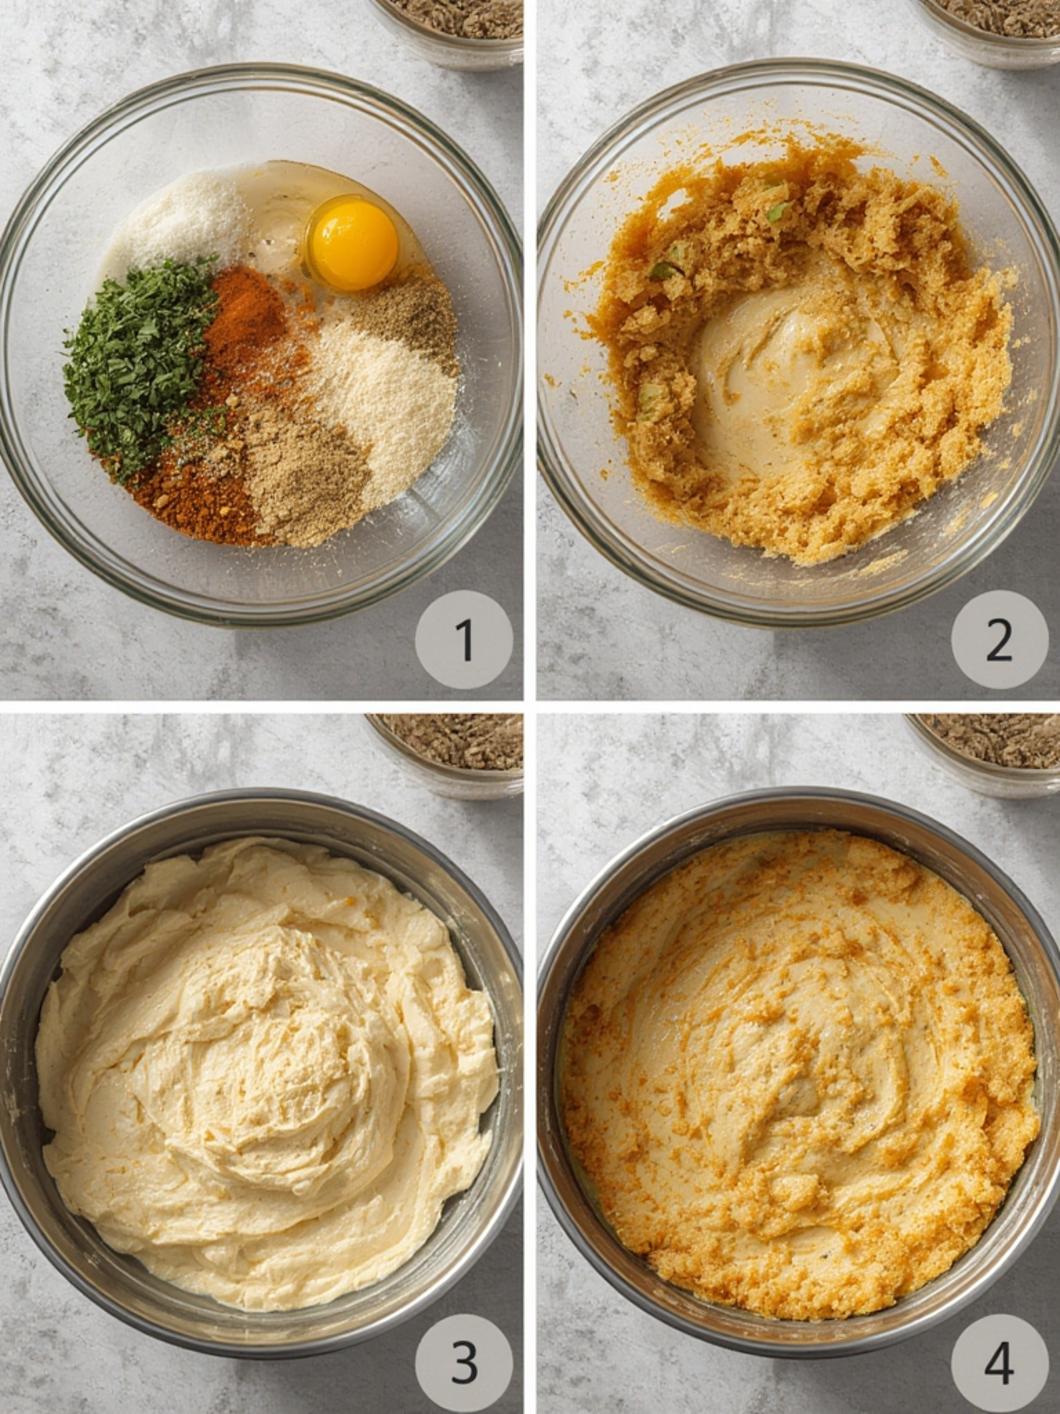
1. Create the Base: In a medium saucepan over low heat, combine the heavy cream, milk, sugar, corn syrup, and salt. Warm gently, whisking constantly, just until the sugar is fully dissolved (about 3-5 minutes). Do not let it simmer or boil.
2. Infuse the Vanilla: Remove the pan from heat. Slice the vanilla bean pod lengthwise and scrape out the fragrant seeds with the back of your knife. Whisk both the seeds and the empty pod into the warm cream mixture. Stir in the vanilla extract. For the deepest flavor, cover and let steep for 30 minutes off the heat.
3. Chill Thoroughly: Remove the vanilla bean pod (you can rinse and dry it for another use). Pour the base into a mixing bowl and place it in the refrigerator until completely cold, about 2-3 hours. For faster chilling, set the bowl over an ice bath.
4. Freeze: Pour the chilled base into your clean Ninja Creami pint containers, leaving about 1/2 inch of space at the top for expansion. Secure the lids and freeze on a level surface for a full 24 hours. The base must be completely solid.
5. The Creami Magic: Remove the pint from the freezer. Place it into the outer bowl of your Ninja Creami and attach the lid. Select the ICE CREAM function. Let the machine work its magic until the cycle is complete.
6. Respin & Mix-Ins: After the first cycle, the texture should be creamy but may have some icy bits on top. Use a spoon to break up the top layer, then run a RESPIN cycle for ultimate smoothness. For mix-ins, use the MIX-IN function after the respin. This foundational vanilla is your gateway to endless ninja creami dessert ideas, from cookie dough blitzes to fruit swirl creations.
7. Serve Immediately: For soft-serve consistency, enjoy right away! For a firmer scoop, spread the ice cream back into the pint, re-lid, and place in the freezer for 1-2 hours to “harden.” This recipe exemplifies why mastering classic ninja creami recipes is the first step to frozen dessert freedom.
Nutritional Benefits & Health Info
While this is a decadent treat, making it at home allows for informed choices. You’ve eliminated artificial stabilizers, colors, and excessive air (overrun) found in commercial brands. The base provides a source of calcium and vitamin A from the dairy. For a lower-sugar option, you can experiment with erythritol-based sweeteners, though texture may vary. Using organic dairy and pure ingredients ensures you know exactly what you’re enjoying.
Variations, Substitutions & Chef’s Tips
- Dairy-Free Delight: Substitute full-fat coconut milk for the heavy cream and a creamy oat milk for the whole milk. The result is wonderfully rich and vegan-friendly.
- Chocolate Obsession: Whisk in 1/2 cup of high-quality cocoa powder with the sugar in step 1.
- Cookie Dough Dream: During the MIX-IN cycle, add chunks of edible cookie dough and chocolate chips.
- Chef’s Tip: For professional-level smoothness, strain the chilled base through a fine-mesh sieve before freezing to catch any undissolved sugar crystals or vanilla bean fragments.
- Altitude Adjustment: No special adjustments needed for the Ninja Creami process!
Common Cooking Mistakes to Avoid
1. Skipping the Full Freeze: Freezing for less than 24 hours means the center isn’t solid, leading to a soupy result. Patience is key.
2. Overfilling the Pint: Leaving no room for expansion can cause the lid to pop off or the container to crack in the freezer.
3. Skipping the Respin: The respin cycle is crucial for breaking down those last icy crystals. Don’t rush to serve after just one spin.
4. Using Warm Base: Pouring a warm base into the pint will cause condensation and ice crystals. Always chill completely.
5. Not Scraping the Sides: After the first processing cycle, always scrape down the unmixed bits from the sides into the center for a uniformly creamy texture.
Serving & Storage Suggestions
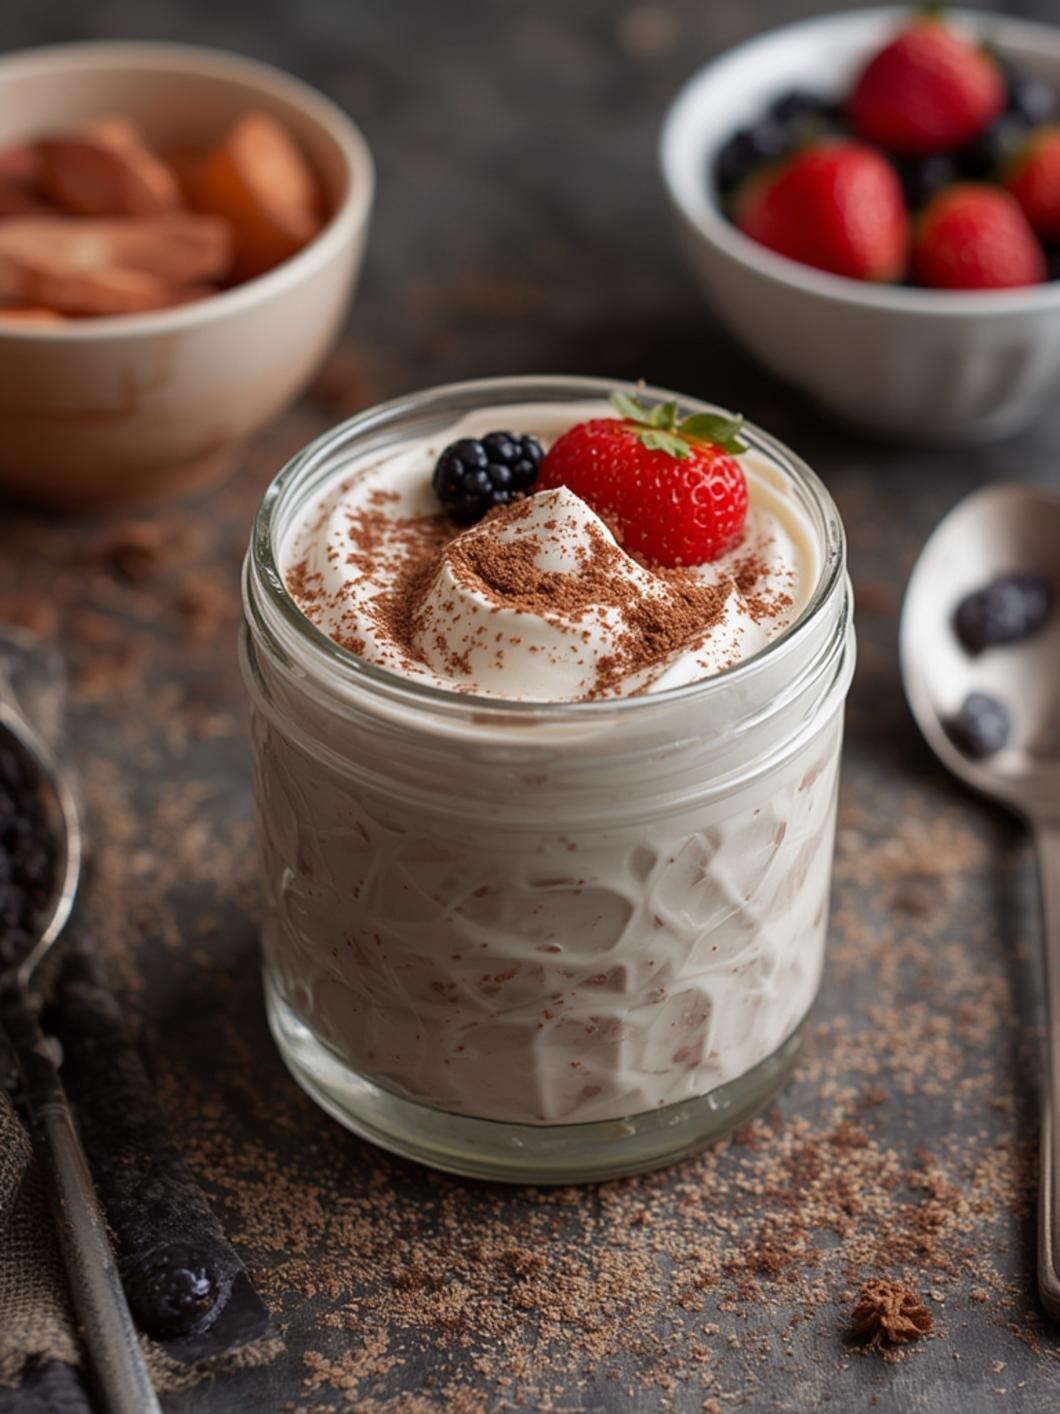
Serve this vanilla bean ice cream in a chilled bowl, topped with a homemade sauce like this luscious ninja creami recipes cherry pie filling, fresh berries, or salted caramel. It’s the perfect companion to warm pie or brownies.
For storage, if you have leftovers, press a piece of parchment paper directly onto the surface of the ice cream in the pint container to prevent ice crystals. Re-lid tightly. It will keep for 1-2 weeks. For best texture, let it sit at room temperature for 5-10 minutes before scooping.
Conclusion
Creating this sublime vanilla bean ice cream from scratch is a rewarding experience that elevates a simple treat into a gourmet moment. The Ninja Creami demystifies the process, giving you restaurant-quality results with minimal effort. This base recipe is your launchpad—once you master it, you can confidently explore all the creative ninja creami dessert ideas that spark your imagination, from sophisticated sorbets to indulgent cake batter ice cream. I hope this guide inspires you to churn up something wonderful. Don’t forget to share your creations and explore more foundational ninja creami recipes to build your frozen dessert repertoire!
FAQs
Q: Can I use all milk and skip the heavy cream for a lighter version?
A: Unfortunately, no. The high fat content in heavy cream is essential for the rich, creamy mouthfeel and prevents an icy, hard result. For a lighter option, try using half-and-half, but the texture will be less luxurious.
Q: My ice cream is too soft after spinning. What did I do wrong?
A: This usually means the base wasn’t frozen solid enough. Ensure a full 24-hour freeze on a level shelf in the coldest part of your freezer. Also, make sure your Creami pint is the model intended for your machine.
Q: Can I make this recipe without corn syrup?
A: Yes. Corn syrup helps inhibit ice crystal formation. You can substitute it with an equal amount of honey, agave nectar, or make a simple syrup (equal parts sugar and water, heated until dissolved, then cooled).
Q: How can I make my mix-ins (like cookies or candy) stay whole and not pulverized?
A: For larger chunks, add them during the final 30 seconds of a MIX-IN cycle, or manually fold them in with a spoon after the ice cream is processed but before the final “harden” in the freezer.
Q: Where can I find more inspiration for my machine?
A: The possibilities are endless! For a curated collection of creative spins, check out these fantastic ninja creami dessert ideas to get your next project started.