
Follow Me On Social Media!

Quick way to make a 3-ingredient smash burger recipe
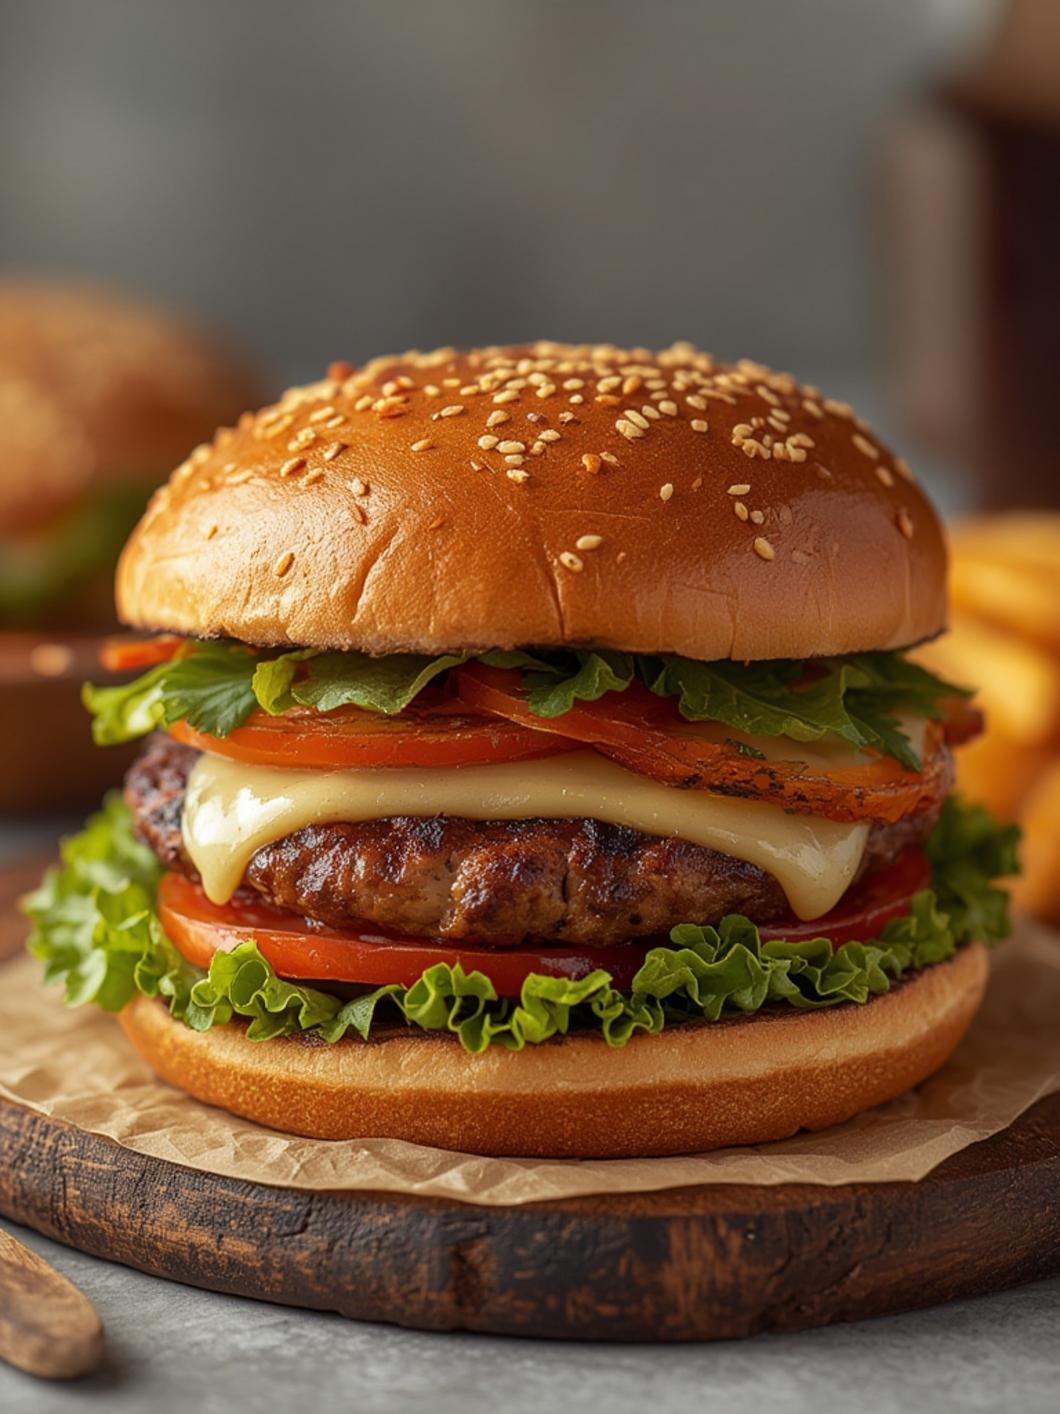
Have you ever bitten into a burger so perfectly balanced—with a lacy, caramelized crust giving way to a tender, juicy interior—that you immediately wondered, “Could I make this at home?” The answer is a resounding yes, and the journey to burger nirvana begins with mastering the art of the smash burger. Forget dry, bland patties or greasy drive-thru fare. A proper smash burger is a symphony of texture and flavor, achievable right on your stovetop with a little know-how and the right technique. This recipe delivers that iconic diner-style experience, with a crispy-edged patty that locks in incredible juiciness, proving that the best burger often comes from your own kitchen.
Table of Contents
Ingredients & Kitchen Tools
For the ultimate simplicity and flavor, you only need a few high-quality ingredients.
For the Smash Burgers:
- 1 lb (450g) 80/20 ground chuck (or ground beef with 20% fat content)
- 1 tsp kosher salt
- 1 tsp freshly ground black pepper
- 4 slices American cheese (or your favorite melty cheese)
- 4 soft potato buns, lightly toasted
- 1 tbsp neutral oil (like canola or vegetable oil)
For Serving (Optional):
- Classic Burger Sauce (mix ½ cup mayo, 2 tbsp ketchup, 1 tbsp pickle relish, 1 tsp mustard)
- Thinly sliced white onion
- Dill pickle chips
- Crisp iceberg lettuce
- Sliced tomatoes
Essential Kitchen Tools:
- A heavy cast-iron skillet or flat griddle (non-stick will work in a pinch)
- A sturdy, flat metal spatula (a fish spatula is ideal)
- A stiff, flat-edged scraper or a second spatula for pressing
- Parchment paper or wax paper (to prevent sticking when smashing)
- Tongs
Prep Time & Cooking Schedule
Prep Time: 10 minutes
Cook Time: 10 minutes
Total Time: 20 minutes
Yields: 4 burgers
Time Management: The beauty of this recipe is its speed. While your skillet heats up, portion your meat and prepare your toppings. The actual cooking is a fast, high-heat operation, so have your buns toasted, cheese ready, and assembly station set up before you start smashing.
Step-by-Step Cooking Instructions
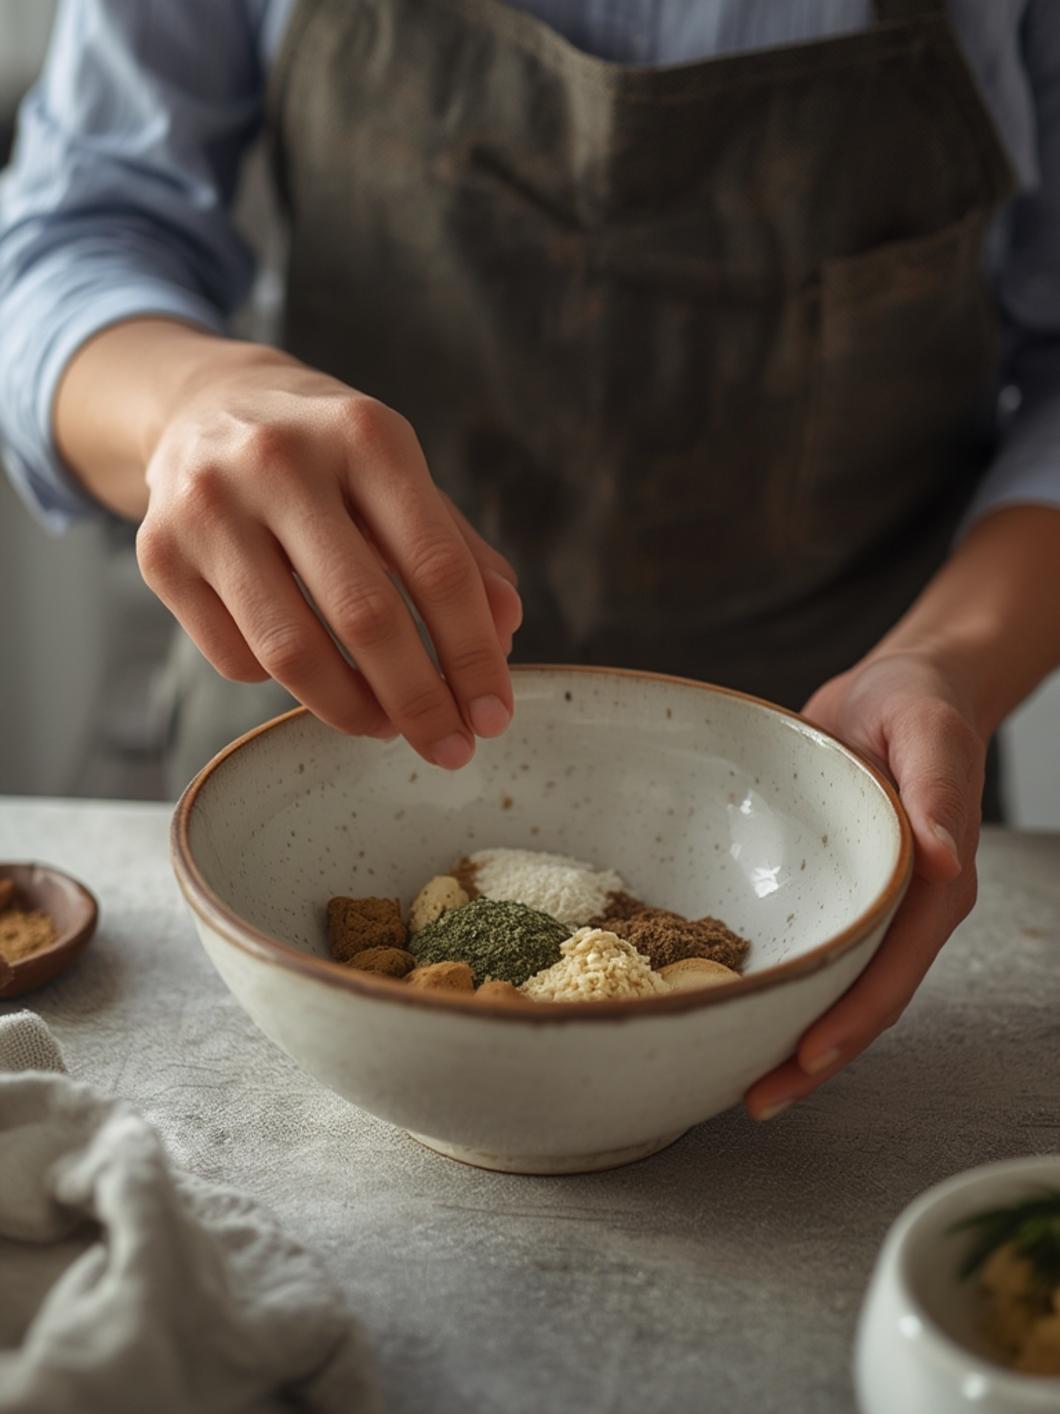
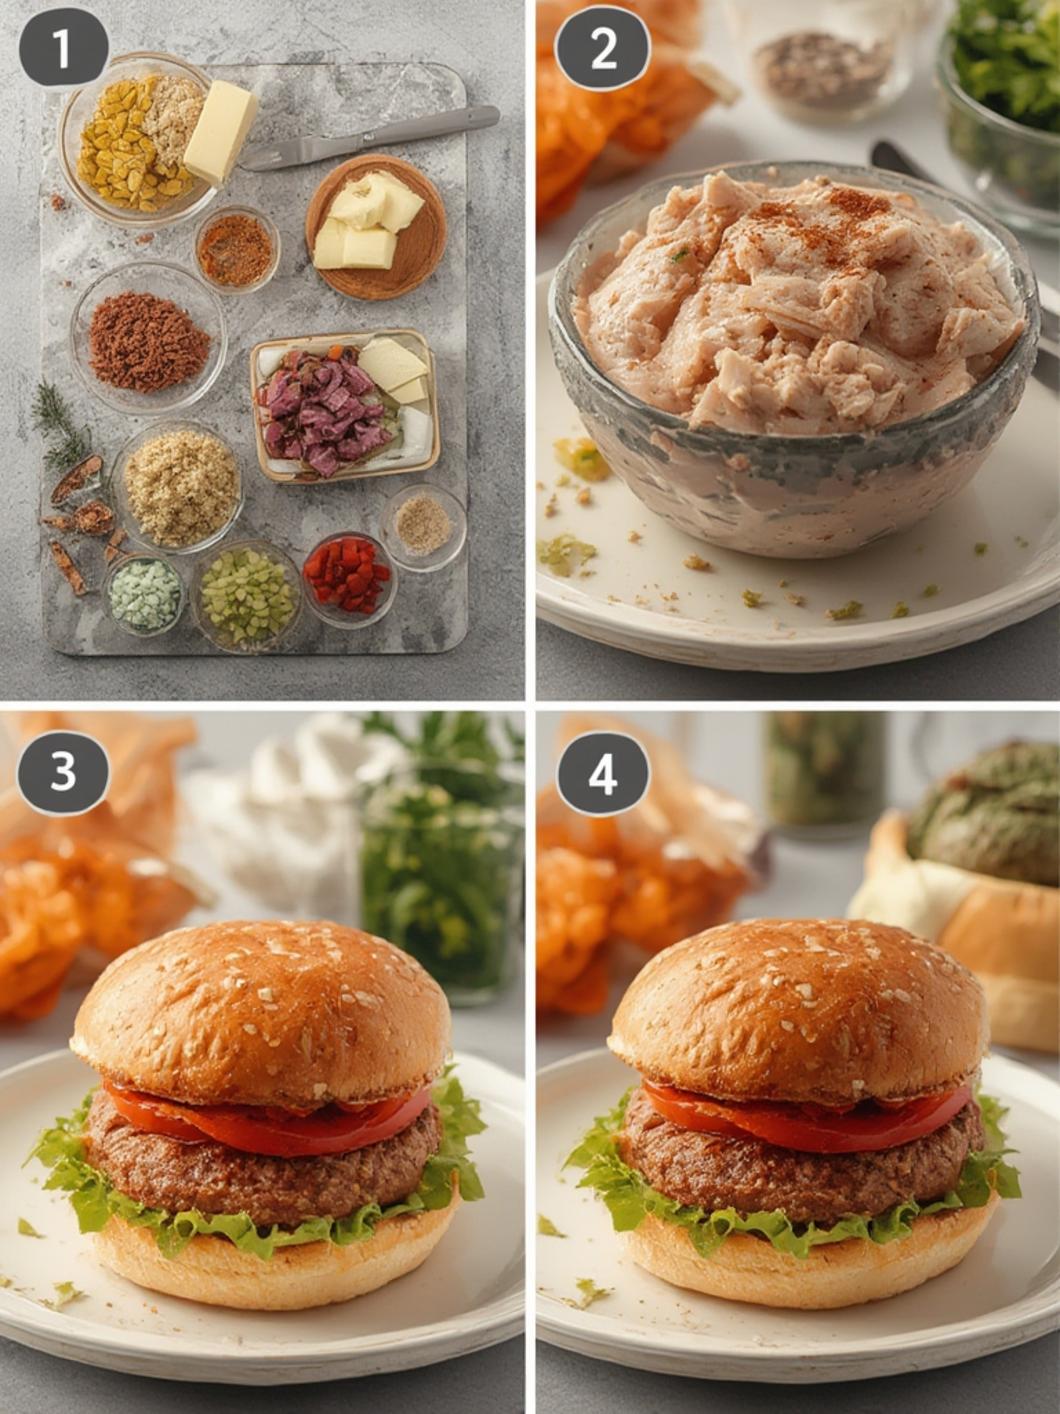
1. Portion and Prep: Divide the ground beef into 4 equal balls (about 4 oz/113g each). Do not overwork the meat; gently form them into loose balls. Season generously with salt and pepper.
2. Heat the Skillet: Place your heavy skillet or griddle over medium-high heat. Let it get screaming hot—you should see a faint wisp of smoke when you add the oil. Add the oil and swirl to coat.
3. The Smash: Place two beef balls in the hot skillet. Immediately take a small square of parchment paper, place it over one ball, and use your flat spatula (and the scraper for extra pressure) to press down firmly and decisively. You are not just flattening; you are smashing it into a thin, even disc, about ¼-inch thick. This creates maximum surface contact for that essential crispy crust. Repeat with the second ball. Discard the parchment.
4. Cook to Crispy Perfection: Do not touch the patties! Let them cook undisturbed for about 2 minutes, until the edges are browned and lacy, and the top is beginning to look cooked around the edges. The key to a perfect smash burger patty is this initial sear.
5. Flip and Cheese: Use your sturdy spatula to scrape up and flip each patty. They should release easily if properly seared. Immediately place a slice of cheese on each one. Cook for another 45-60 seconds until the cheese is melted and the second side is crispy.
6. Repeat and Assemble: Transfer the cooked burgers to a plate and loosely tent with foil. Wipe the skillet clean with a paper towel, reheat, and repeat with the remaining two balls. To assemble, spread sauce on the toasted buns, add your crispy smash burger, and top with onions, pickles, lettuce, and tomato.
Nutritional Benefits & Health Info
While an indulgent treat, a homemade smash burger allows you to control quality. Using 80/20 beef provides a good source of high-quality protein, iron, and vitamin B12. Opting for whole-grain buns adds fiber, and loading up on fresh vegetable toppings increases the vitamin and antioxidant content. You can easily make it keto-friendly by serving it “protein-style” wrapped in lettuce.
Variations, Substitutions & Chef’s Tips
- Make it Gourmet: Add a pat of compound butter (like garlic-herb) on the patty after flipping.
- Dairy-Free: Use vegan cheese slices or simply omit the cheese for a classic “burger with onions.”
- Air Fryer Alternative: While nothing beats the stovetop sear, you can form thin patties and cook them in a single layer in a preheated air fryer at 400°F for 6-8 minutes, flipping halfway.
- Double Smash: For a true diner-style experience, make two thin patties per burger and add a slice of cheese in between—the famous “double cheeseburger.”
- Pro Tip: For an even crispier crust, sprinkle a tiny pinch of salt directly onto the skillet where you’ll place the meat ball before smashing.
Common Cooking Mistakes to Avoid
1. Using Lean Meat: Avoid 90/10 or leaner beef. The 20% fat is crucial for flavor and juiciness. A lean patty will become dry and tough when smashed thin.
2. Overworking the Meat: Handling the beef too much creates a dense, meatloaf-like texture. Gently form it into loose balls.
3. A Skull That’s Not Hot Enough: This is the #1 reason for failure. If the skillet isn’t properly preheated, the patty will steam instead of sear, resulting in a gray, rubbery texture without the signature crispy edges.
4. Moving the Patty Too Soon: After smashing, let the magic happen. Don’t poke, press, or move the patty. It needs that uninterrupted contact to develop the crust.
Serving & Storage Suggestions
Serve your smash burgers immediately with classic sides like crispy fries, onion rings, or a simple side salad. Leftovers are not recommended for the patties, as they are best fresh. However, you can store uncooked, portioned beef balls in the fridge for up to 24 hours. Let them come to room temperature for 15 minutes before cooking.
Conclusion
Mastering the homemade smash burger is a game-changer for any home cook. It’s a lesson in how simple ingredients, when treated with respect and a fiery-hot pan, can transform into something extraordinary. The contrast of the crispy, savory crust with the melty cheese and soft bun is a experience everyone deserves. I hope this guide empowers you to create your own legendary burger night. Once you nail the technique for that perfect smash burger patty, you’ll never look at a grill the same way again. Don’t forget to check out our fantastic smash burger recipe for more inspiration!
Did you make this recipe? We’d love to see your crispy creations! Rate the recipe below and share your photos with us on social media.
FAQs
Q: Can I use a different type of ground meat?
A: While beef is traditional, you can use ground turkey or chicken. Be aware they are leaner, so add a tablespoon of olive oil to the meat and cook slightly more gently to prevent drying out.
Q: My patty stuck to the spatula when I tried to flip it. What went wrong?
A: This usually means the crust hasn’t fully formed. Ensure your skillet is piping hot before adding the meat, and don’t attempt to flip until you see a pronounced brown, lacy edge (about 2 full minutes). A proper sear will release it naturally.
Q: Can I make the beef balls ahead of time?
A: Yes, you can portion and season the balls, cover them tightly on a plate, and refrigerate for up to 24 hours. Let them sit at room temperature for 15-20 minutes before cooking for even searing.
Q: Is there a trick to getting the patty super thin?
A: Yes! Use the parchment paper method and press with firm, even pressure. A good technique is to place the spatula on top and then use your other hand to press down on the flat part of the spatula handle for leverage. Think “smash and hold” for a few seconds. For an even thinner edge, check out our tips for the perfect smash burger patty.