
Follow Me On Social Media!

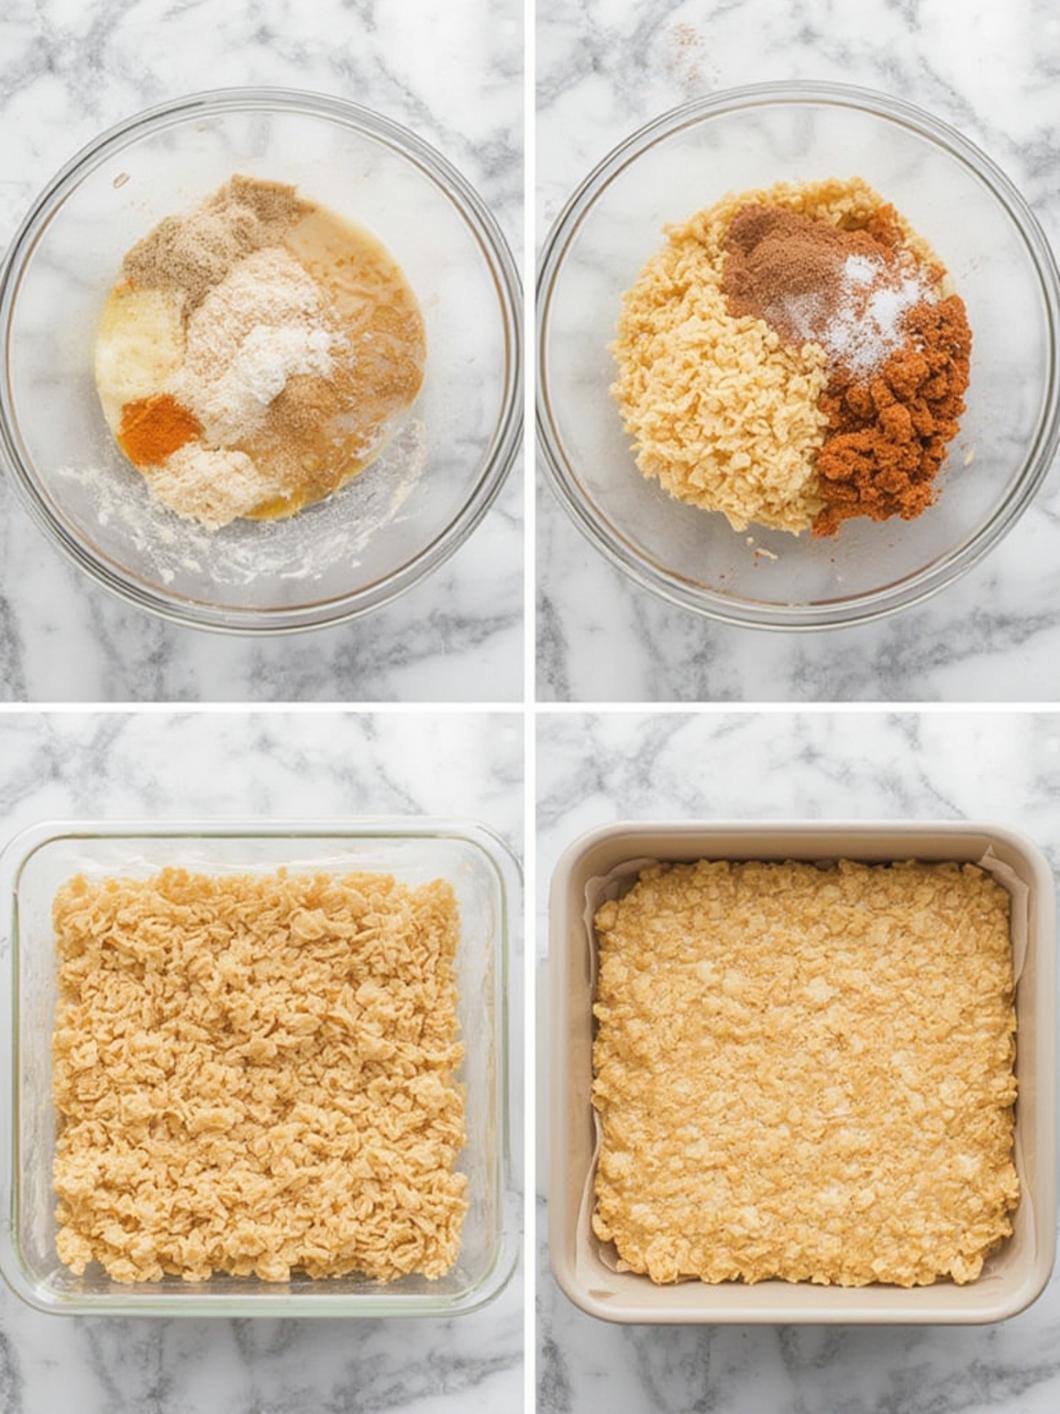
Quick way to make rice crispy treats recipe in 3 steps
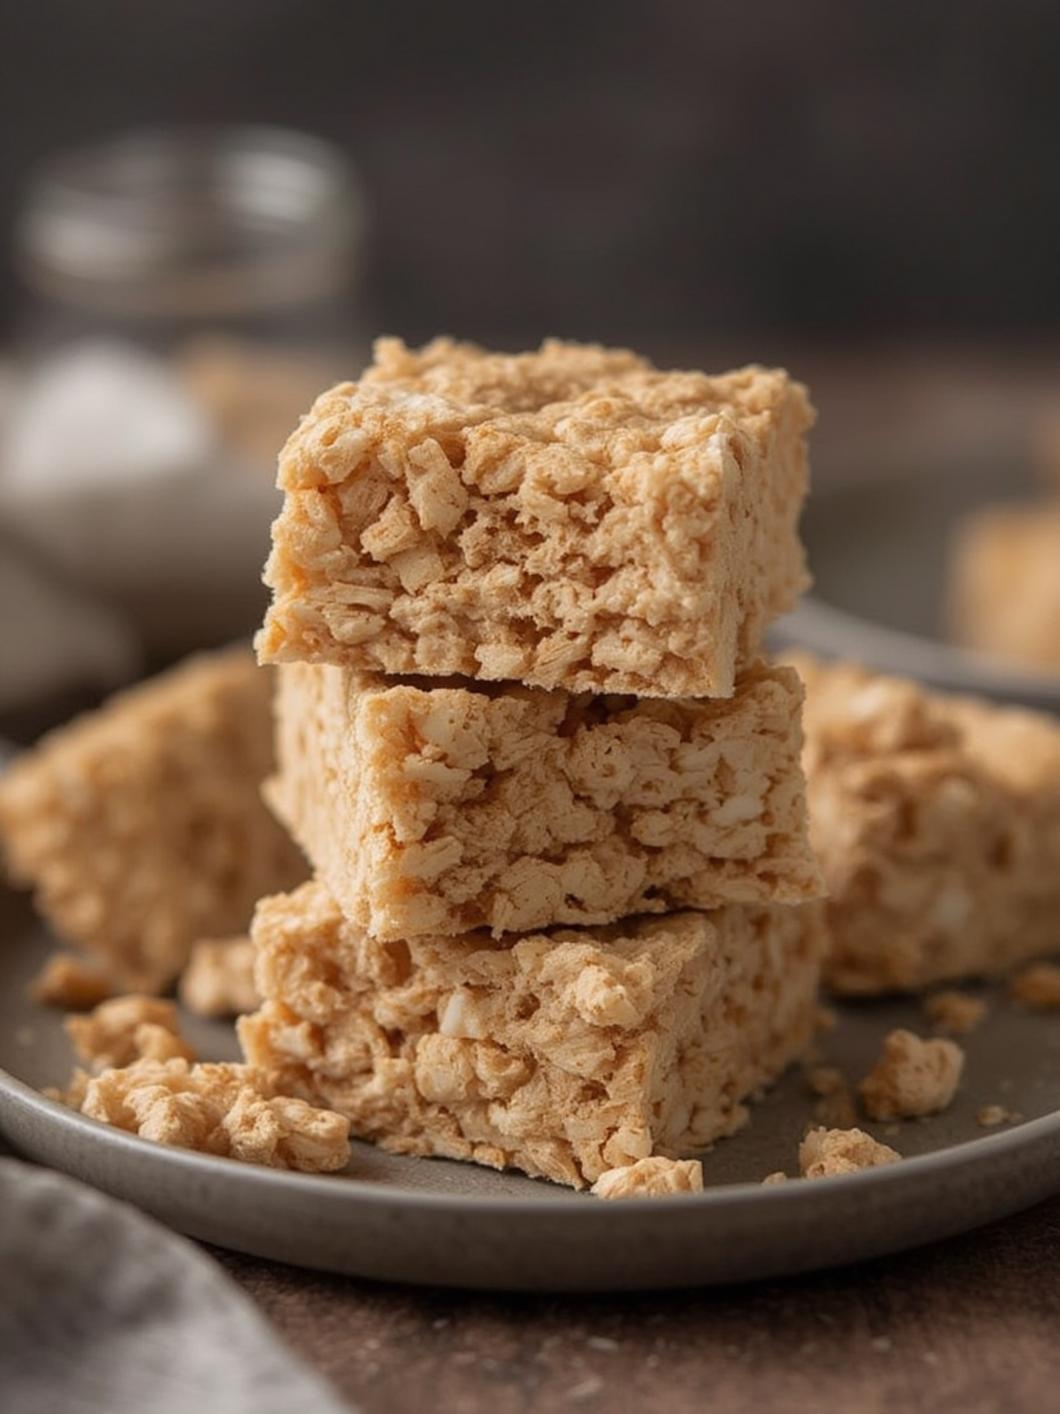
There’s a certain magic in the kitchen that happens with just three simple ingredients. Can you hear it? The gentle sizzle of butter melting, the soft rustle of marshmallows tumbling into the pot, and the satisfying, thunderous snap as you press a spoon into a pan of freshly made, golden-hued treats. This isn’t just a recipe; it’s a delicious, edible memory. While store-bought versions are convenient, nothing compares to the warm, gooey, and perfectly chewy texture of a homemade rice crispy treats recipe. It’s a culinary canvas waiting for your personal touch, transforming basic pantry staples into a dessert that brings smiles to faces of all ages. Today, we’re reclaiming this classic and elevating it to its full, buttery, marshmallow-y potential.


Table of Contents
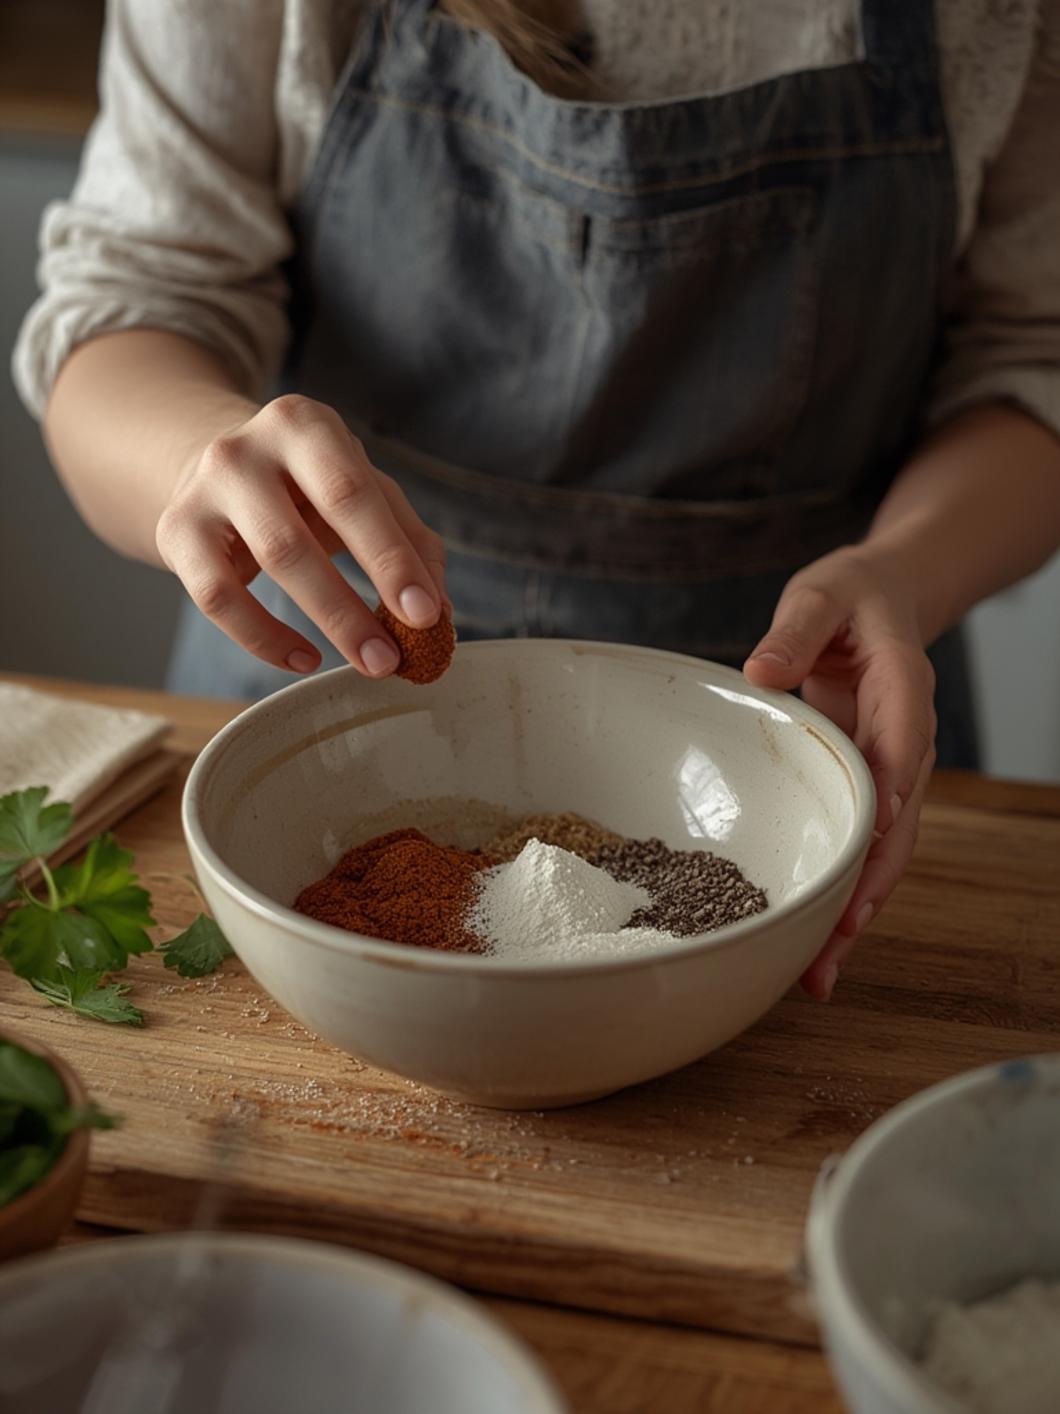
Ingredients & Kitchen Tools
For the best results, quality matters. Use fresh marshmallows for optimal gooeyness and real, unsalted butter for superior flavor control.
Ingredients:
- 6 cups crispy rice cereal (like Rice Krispies®)
- 1 (10 oz.) bag regular marshmallows (about 40 marshmallows)
- 3 tablespoons unsalted butter
- 1/4 teaspoon fine sea salt (enhances flavor, optional but recommended)
Optional Add-Ins & Variations:
- 1 teaspoon pure vanilla extract (add with the marshmallows)
- 1/2 cup mini chocolate chips, M&M’s, or sprinkles
- 1/4 cup creamy peanut butter or Nutella (add with the butter)
Kitchen Tools:
- Large pot or Dutch oven (at least 4 quarts)
- Heatproof silicone spatula
- 9×13 inch baking pan
- Parchment paper or non-stick cooking spray
- Measuring cups and spoons
Prep Time & Cooking Schedule
Prep Time: 5 minutes
Cook Time: 10 minutes
Total Time: 15 minutes (plus 1 hour to set)
Yields: 12 large squares or 24 smaller bars
This recipe moves quickly! Have all your ingredients measured and your pan prepared before you turn on the stove. While the treats cool and set, you can clean up your single pot—one of the joys of this easy rice crispy treats method.
Step-by-Step Cooking Instructions
1. Prepare the Pan: Line your 9×13 inch baking pan with parchment paper, leaving an overhang on two sides for easy removal. Lightly grease the paper (or the pan itself) with butter or non-stick spray. This is your non-negotiable step for perfect, unmangled bars.
2. Melt the Butter: In your large pot over low heat, melt the 3 tablespoons of butter. Swirl the pot occasionally until the butter is fully liquid and just beginning to foam. The low heat is crucial—we don’t want to brown the butter for this classic version.
3. Create the Marshmallow “Lava”: Add the entire bag of marshmallows and the optional salt to the melted butter. Stir continuously with your silicone spatula. The marshmallows will slowly deflate, melt, and merge with the butter into a smooth, glossy, white lava. This should take 5-7 minutes. Chef’s Tip: Patience is key. Rushing on high heat will scorch the marshmallows, giving your treats a burnt flavor.
4. The Grand Mix-Off: As soon as the marshmallow mixture is smooth, remove the pot from the heat. Immediately pour in all 6 cups of crispy rice cereal. Using a gentle folding motion, stir until every single cereal piece is thoroughly and lovingly coated in the sticky, sweet marshmallow mixture. Work quickly before it starts to set.
5. Press and Set: Transfer the mixture to your prepared pan. Using the back of a lightly buttered spatula or your buttered fingers, press the mixture into an even layer. Don’t compact it too densely; a gentle press ensures a treat that’s chewy, not brick-like. Allow the pan to cool at room temperature for at least 1 hour until completely firm.
Nutritional Benefits & Health Info
While this is undoubtedly a dessert, it’s a fun, portion-controlled treat. The crispy rice cereal is often fortified with vitamins and minerals like iron and B vitamins. For a slightly healthier twist, you can use a brown rice crispy cereal or reduce the marshmallow quantity by a cup. It’s naturally gluten-free (always check cereal labels) and can easily be made vegan by using vegan marshmallows and plant-based butter.
Variations, Substitutions & Chef’s Tips
- Chocolate Lover’s Dream: Stir in 1/2 cup mini chocolate chips after mixing in the cereal. For a marble effect, drizzle melted chocolate over the top before it sets.
- Birthday Cake Fun: Use pastel or rainbow marshmallows and fold in 1/4 cup rainbow sprinkles.
- Salted Caramel: Drizzle store-bought or homemade caramel sauce over the pressed treats and sprinkle with flaky sea salt.
- Chef’s Pro Tip: For ultra-neat, professional-looking squares, use a large, lightly greased chef’s knife to cut the fully set slab. Clean the knife between cuts.
Common Cooking Mistakes to Avoid
1. High Heat = Burnt Marshmallows: This is the #1 error. Low and slow melting is non-negotiable for a pure, sweet flavor.
2. Stale Cereal: Your cereal must be crisp! If your box has been open for a while, the treats will be soggy. Taste a bit first to ensure maximum snap.
3. Over-Pressing: Smashing the mixture into the pan with all your might creates a hard, dense bar. A gentle, even press is all you need.
4. Cutting Too Soon: If you try to cut before the treat is fully cool and set, you’ll get a sticky, messy pull. Wait the full hour.
Serving & Storage Suggestions
Serve these treats as an after-school snack, a lunchbox surprise, or a potluck dessert star. They pair wonderfully with a cold glass of milk or a cup of coffee.
Storage: Keep leftovers in an airtight container at room temperature for up to 3 days. For longer storage, individually wrap squares in plastic wrap and freeze in a freezer bag for up to 6 weeks. Thaw at room temperature for 30 minutes.
Conclusion
Mastering this timeless classic is a rite of passage for any home cook. The process is simple, the result is profoundly satisfying, and the ability to customize makes it endlessly fun. This rice crispy treats recipe proves that the most beloved foods are often the simplest to make. So, grab your pot and marshmallows, and create a batch of these irresistibly easy rice crispy treats. We promise the aroma alone is worth the effort. Don’t forget to share your creations! Tag us on social media or leave a comment below telling us your favorite add-in variation.
FAQs
Q: Can I use marshmallow fluff instead of regular marshmallows?
A: It’s not recommended. Marshmallow fluff has a different texture and moisture content, which can throw off the ratio and result in treats that are too soft or sticky.
Q: My treats turned out really hard. What went wrong?
A: This usually happens from overcooking the marshmallow mixture or over-compacting them in the pan. Next time, melt the marshmallows just until smooth and use a lighter touch when pressing.
Q: Can I make these ahead of time for a party?
A: Absolutely! They are the perfect make-ahead dessert. Prepare them 1-2 days in advance, store in an airtight container at room temperature, and cut just before serving.
Q: How can I make my treats extra gooey?
A: For a gooier texture, add an extra 1/2 cup of marshmallows to the recipe. You can also slightly under-melt the marshmallows, leaving a few small, soft lumps before adding the cereal.
Q: My treats are too sticky. How can I fix this?
A: Stickiness often comes from humidity or not using enough cereal. Ensure your cereal is very crisp, and you can try adding an extra 1/4 to 1/2 cup of cereal to the mixture next time. Dusting your knife with powdered sugar before cutting can also help.